How to Burn iMovie to DVD Quickly
- Karen Nelson
- 06/04/2022

DVD Creator
iMovie is more and more popular among Mac users, as everyone can create and edit a wonderful video by using iMovie with a few easy steps. After you finish making videos, where would you like to save them, Mac, iPhone, iPad or other devices? Have you ever thought about saving your videos on a DVD so that you can share with your families and friends on a big screen? If you want to do that, you need to burn iMovie to DVD at first. In this essay, you will find how to burn iMovie to DVD by using the VideoByte DVD Creator.
How to Use VideoByte DVD Creator to Burn iMovie to DVD
As one of the best way to burn iMovie to DVD, VideoByte DVD Creator has some key features as below:
a. Burn various formats of videos to DVD without losing quality;
b. Edit videos by rotating, cropping, trimming, adjusting the brightness and more;
c. Customize DVD menu and add background music;
d. Preview DVD project before burning;
e. Download online videos.
As VideoByte DVD Creator has so many features, don't hesitate to click the download button below to download and install VideoByte DVD Creator.
How to burn iMovie video to DVD by VideoByte DVD Creator:
Step 1. Transfer iMovie Videos
Before burning iMovie videos to DVD, you need to transfer iMovie videos to Mac first. Open your iMovie project file, click "Share" icon and then you can find and select "Export Movie" option from "File" menu.
Step 2. Download VideoByte DVD Creator
Download, install and open the VideoByte DVD Creator. With a free trial version, you can only use it for 3 times in 30 days and are not allowed to download online menu templates and get free technical support. So in order to have a better experience for burning iMovie videos to DVD, I strongly recommend you to purchase and register VideoByte DVD Creator before using it.
Step 3. Add and Edit iMovie Videos
Click one of the "Add Media Files" icon at the middle interface upper-left corner to transfer iMovie videos to the program.
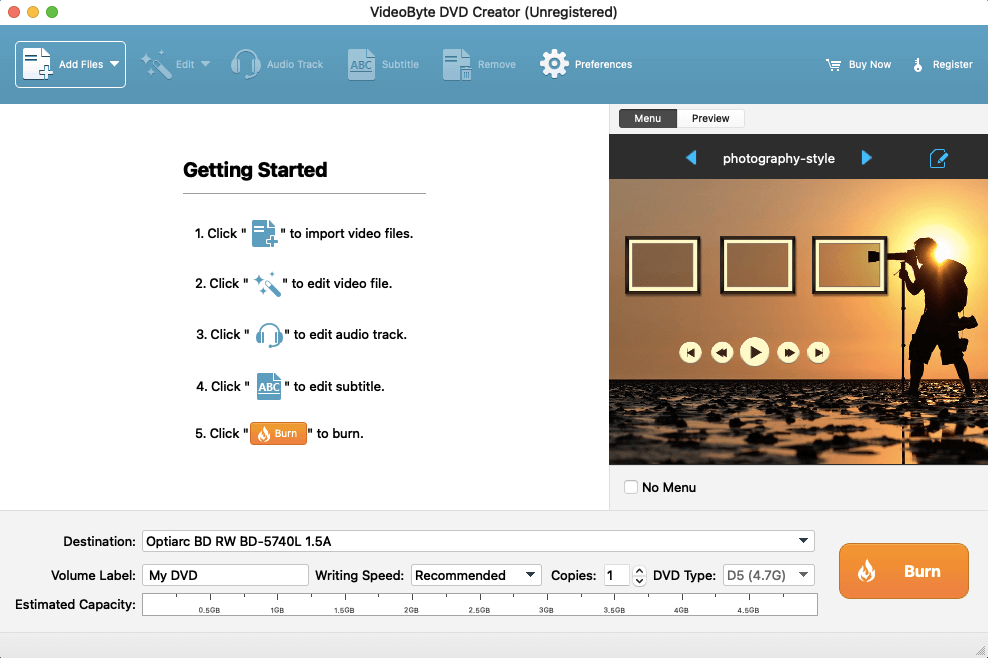
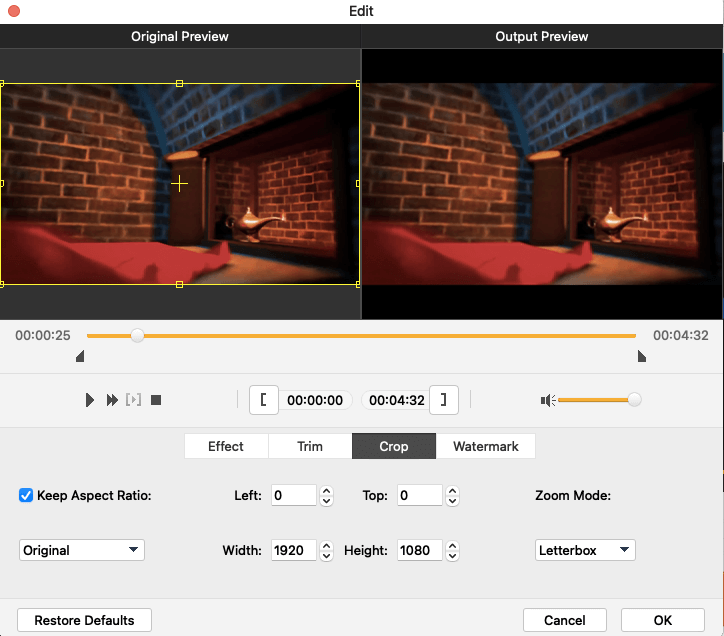
If you would like to add some special effects to videos, find "Magic Stick" icon at the right side of each video, then click it to edit the video including rotating, cropping, trimming, adjusting the brightness, adding filter and watermark.
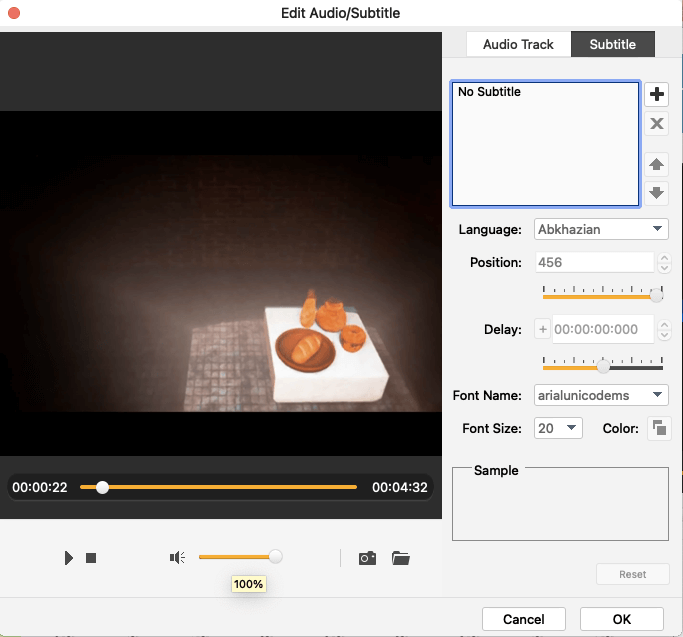
In addition, you are free to change basic parameters of DVD disc including Disc type, aspect ratio, and video quality by selecting the parameters in the bottom of the main interface and click "subtitles" option next to "Magic Stick" to enter the subtitle.
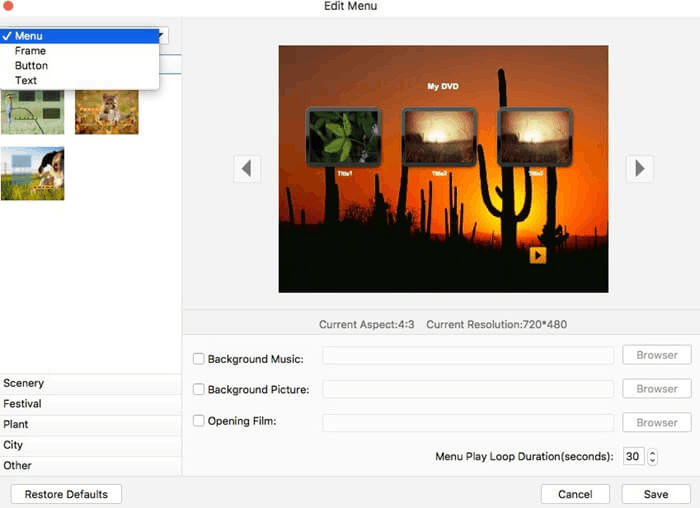
Step 4. Customize DVD Menu for iMovie Videos
Press "Next" icon at the bottom right corner to edit your DVD menu. At the left side, you will find many menu templates in various styles such as holiday, wedding, family, travel and so on, just select one as your menu and change the title subject as you like. Besides, you can add background music & opening film to your videos and change background at the bottom.
Step 5. Start Burning iMovie to DVD
Insert a blank DVD disc into DVD-ROM before start burning, then click on "Next" icon at the bottom right corner. You can save output folder in DVD or DVD ISO file and set TV standard as you like. When all settled, just click "Start" in the lower right corner to burn iMovie to DVD.

As you can see above, I highly advise you burn iMovie to DVD by using VideoByte DVD Creator because VideoByte DVD Creator with very easy steps.
Hot Articles
Tagged DVD Creator