How to Burn Blu-ray Discs Easily and Quickly
- By Karen Nelson
- 05/07/2023

DVD Creator
Before Burning Blu-ray Disc: Your Preparation
Prior to the first step of the trip, you should make sure that you have all the necessary things in your pack. Now, check out the to-prepare list below and tick up all you've got before burning Blu-ray discs.
- A Windows PC or Mac.
- An internal or external Blu-ray drive.
- A blank Blu-ray disc such as BD-R, BD-RE, BD-XL, and Ultra HD.
- A Blu-ray burning software.
- Videos that you want to burn to Blu-ray discs.
How to Burn Blu-ray Disc with VideoByte DVD Creator
VideoByte DVD Creator is one in a million that enjoys worldwide popularity with its tip-top burning technology. It not only lets you burn Blu-ray discs but also burn videos to DVDs. Meanwhile, it supports local videos of up to 4K resolutions in almost all formats like MP4, MPEG, 3GP, MKV, MOV, SWF, FLV, etc. You may also burn 3D videos if you want.
Be it homemade videos or Blu-ray movies from the internet, all your fun will be packed in a disc as a sentimental gift or for playback on a bigger display.
Never Miss Other Silver Shinings
- Support for All Types of Blu-ray Discs - burn videos to Blu-ray discs like BD-R, BD-RE, BD-XL, BD-25, B-5, Ultra HD, etc.
- Various Inputs and Outputs - burn local videos, DVD folder, and ISO to Blu-ray discs at a 1:1 ratio.
- Personalized Blu-ray Menu - Choose from various templates or design your own menu to your liking.
- In-built Power Tools - Editors to beautify your videos, add subtitles/tracks, and manage chapters.
- Ultra-Fast Burning Rate - Take no time to burn Blu-ray discs with its cutting-edge acceleration tech.
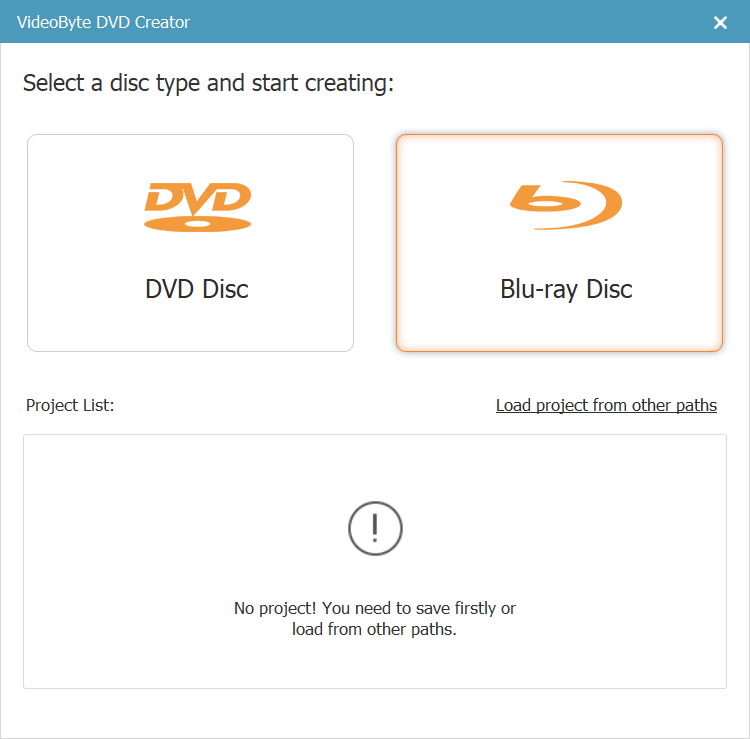
Step 1. Download VideoByte DVD Creator
Free download and install this one of the best DVD-burning software on your computer. Then, launch the program and choose "Blu-ray Disc" to begin your creation. It'd time to insert a blank Blu-ray disc into the Blu-ray drive.
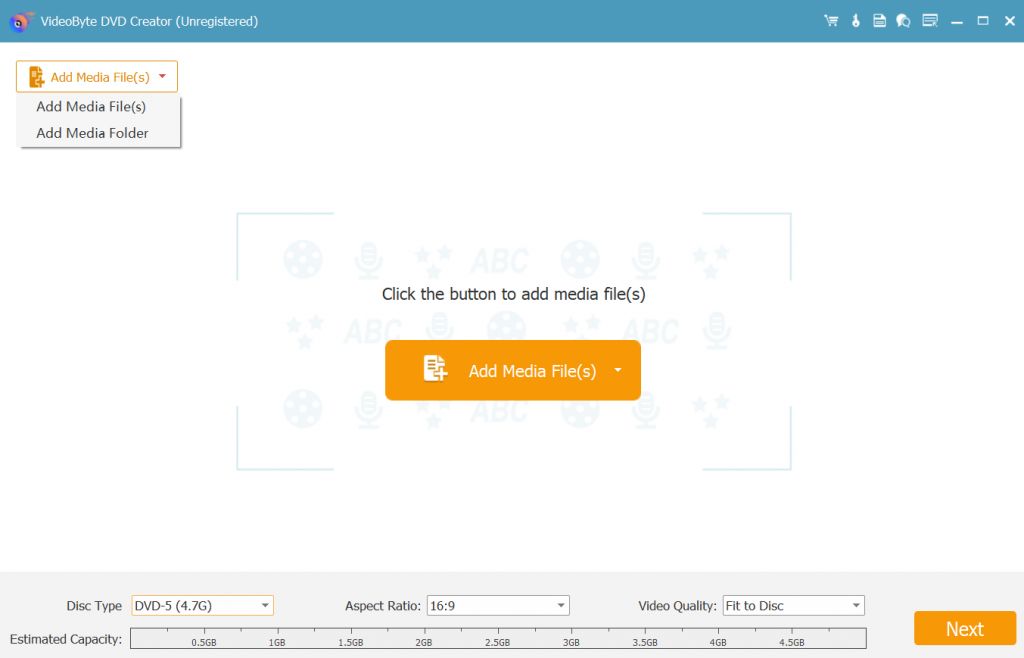
Step 2. Add Videos to the Program
Click the "Add Media Files" button in the middle and import the Blu-ray videos you want to burn. You may either add a single file or a folder through the drop-down list.
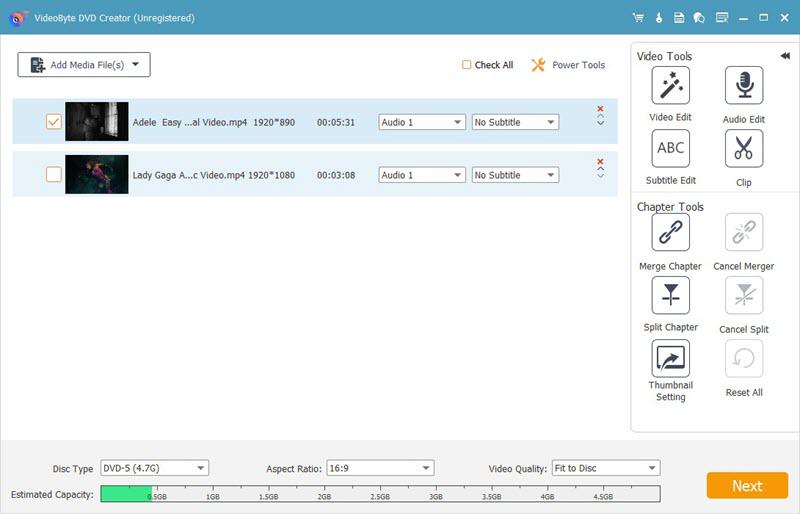
Step 3. Edit Your Videos (Optional)
After clicking "Power Tools", here show up video tools and chapter tools. You can edit videos, or add audio tracks/subtitles before the next step. Also, you may split the Blu-ray movies into chapters with selected thumbnails if necessary. When done, hit "Next" to proceed.
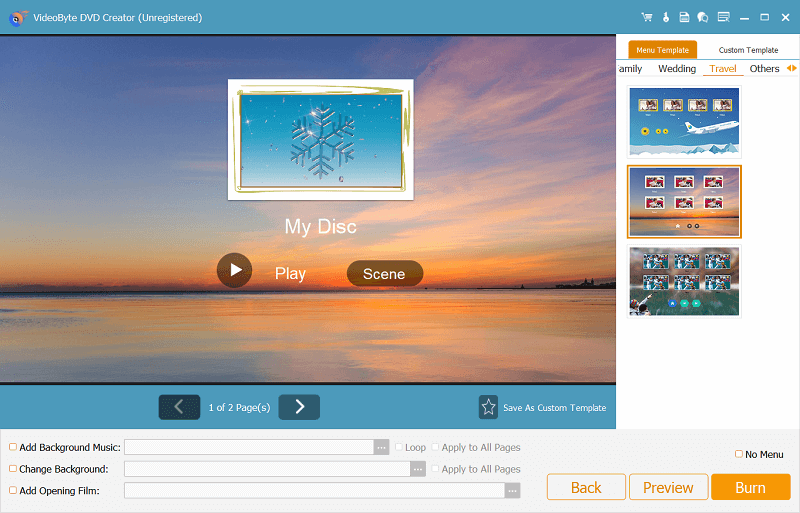
Step 4. Personalize Blu-ray Menu
A Blu-ray menu will make it easy to choose which movie or video to start playing back. You may choose a preset template or make your own Blu-ray menu with the preferred background image and music. After that, click "Burn" to the final step.
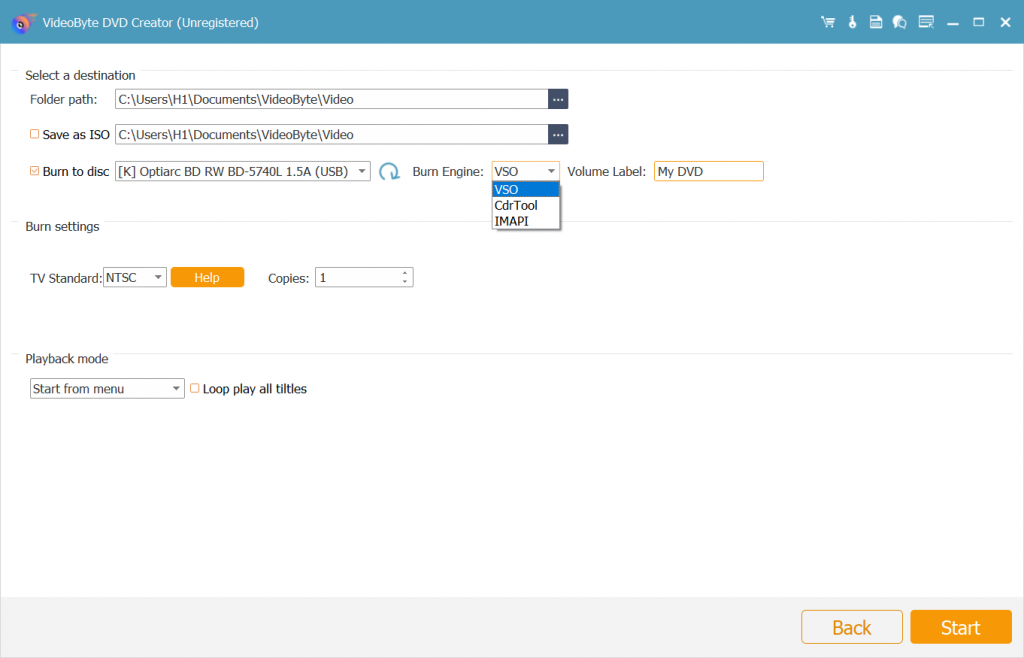
Step 5. Start Burning Blu-ray Disc
The program will auto-detect your blank Blu-ray disc. You may also choose the "Burn Engine", "TV Standard" (NTSC for USA and PAL for elsewhere), and "Playback mode" in this interface. Now, hit the "Start" button to begin burning Blu-ray discs.
How to Burn Blu-ray Disc with Windows Explorer
Good for Windows users that Windows 11/10/8/7 comes with a burning feature. That being said, you're able to easily burn Blu-ray discs with its default Windows Explorer. Moreover, this way is workable for BD-R and BD-RE discs.
However, there is a reminder that it's solely burning movies/videos to a disc with no menu or chapter tools. Now, you may go through the procedure below.
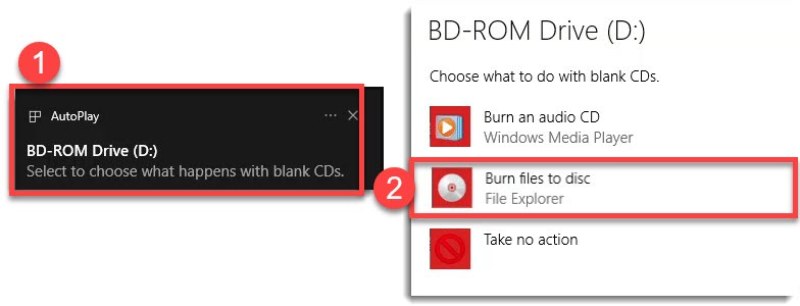
Step 1. Insert your blank Blu-ray disc into an internal/external writable Blu-ray Disc optical drive.
Step 2. When detected, an "AutoPlay" prompt will pop up, and select "Burn files to disc" to proceed.
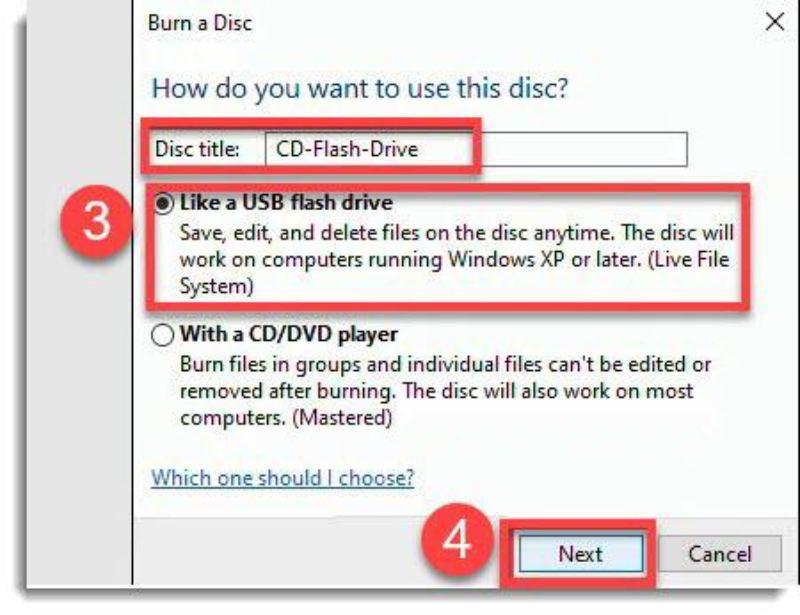
Step 3. After that, enter the "Disc title" and choose "Like a USB flash drive". Then, click "Next" to go on. It may take a few minutes for File Explore to format the disc as a USB flash drive.
Step 4. Now, you can directly drag and drop videos/movies to burn Blu-ray discs. After done, go to "Drive Tools" and click "Eject" to remove the disc.
FAQs About Burning Blu-ray Disc
How Long Does It Take to Burn a Blu-ray Disc?
Which Is Better: Burn Blu-ray Disc or Burn DVD?
What Is the Best Blu-ray Player for Burned Discs?
A portable and external Blu-ray player can let you enjoy playback of your own Blu-ray discs anywhere. According to IGN, Archgon Blu-ray Drive is the best seller, which is a USB 3.0 Blu-ray drive capable of ultra-HD 4K resolutions and compatible with all computers.
Conclusion
To be honest, you don't have to surf the internet and read countless posts. VideoByte DVD Creator has been the optimal choice so far. If you just want to burn one or two Blu-ray discs, it's enough for you. There're 3 shots for you to fully use all the features and burn Blu-ray discs for free with your custom menu. It's never too late to try it out!
Hot Articles